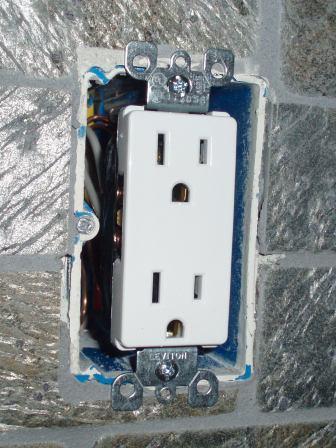
This receptacle was installed using an adjustable box. You can see the adjusting screw on the left side of the box. If this screw is turned clockwise the box will move back into the wall, and likewise if it is turned counter-clockwise the box will move outward. The metal bracket, commonly referred to as the yoke, of the receptacle should rest against the finished wall, or in this case the tile. Some credit should be given here to the tile installer for bringing the tile very close to edges of the box. Many times this care is not taken and the receptacle ends up loose, or wobbly. If you are remodeling your kitchen, or building a new one, this is how you want your countertop receptacles to be installed if the backsplash area is to be covered with tile, granite, or other material where the finished wall surface is somewhat ambiguous due to the varying thickness of different materials.
EXAMPLES OF WORK DONE WITH CRAFTSMANSHIP IN MIND

CA. #835032
(925) 595-5049
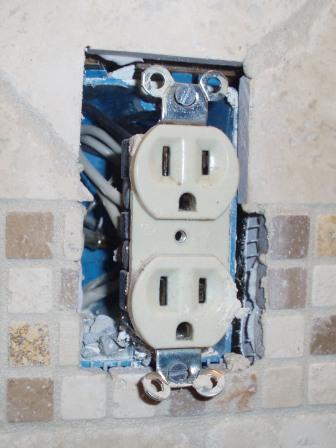
This receptacle was not installed using an adjustable box nor was the tile installed tightly to the box. The top portion of the receptacle yoke does not rest on the tile. It is possible to use a spacer between the yoke and the blue box to remedy this problem and give the receptacle some support but it is more professional to use an adjustable box along with a higher quality tile installation. The home owner decided to forego the $150.00 added cost to upgrade the five outlet boxes where this new tile was being installed.
This exterior lighting outlet box , and the stucco around it, was installed very well. The front edge of the box is very close to the finished surface of the stucco, and the stucco is installed snug up against the edge of the box. Notice that duct tape was wrapped around the box in an effort to keep moisture from the stucco from corroding the surface of the metallic box.
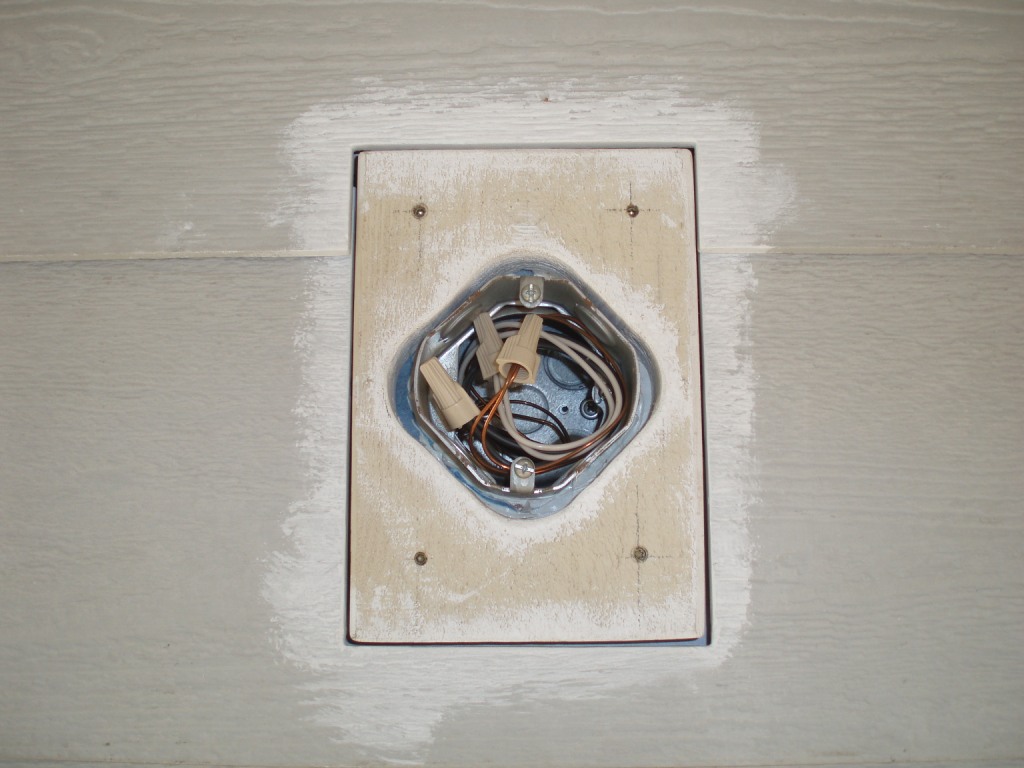
This block was let-in to the siding giving the light a flat surface to mount on.
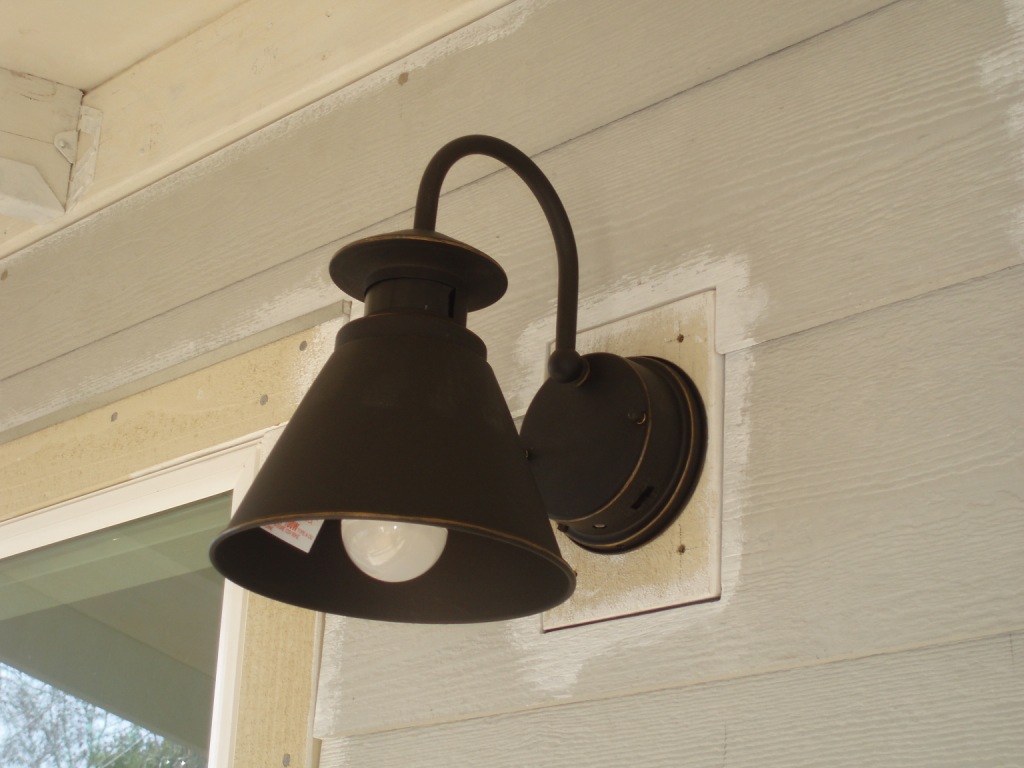
Here we see a light fixture mounted to the block seen in the picture to the left.
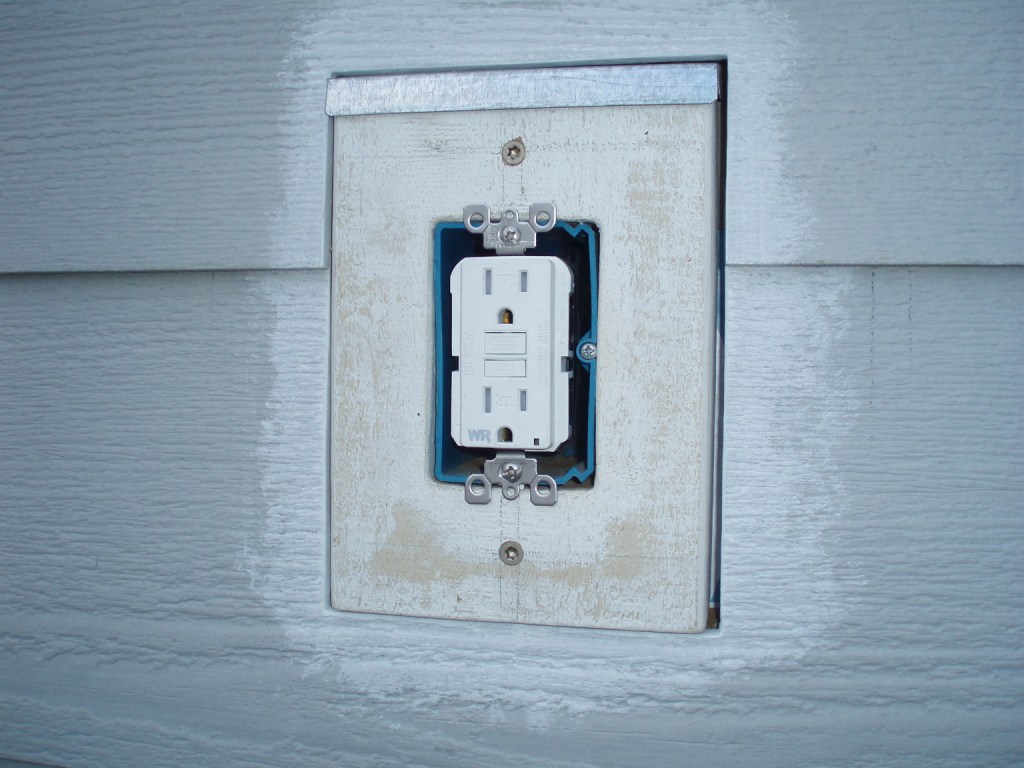
Exterior receptacle using an adjustable box. Notice how the plaster ears of the receptacle rest againt the wooden block. This will be a very sturdy plug when all is said and done.
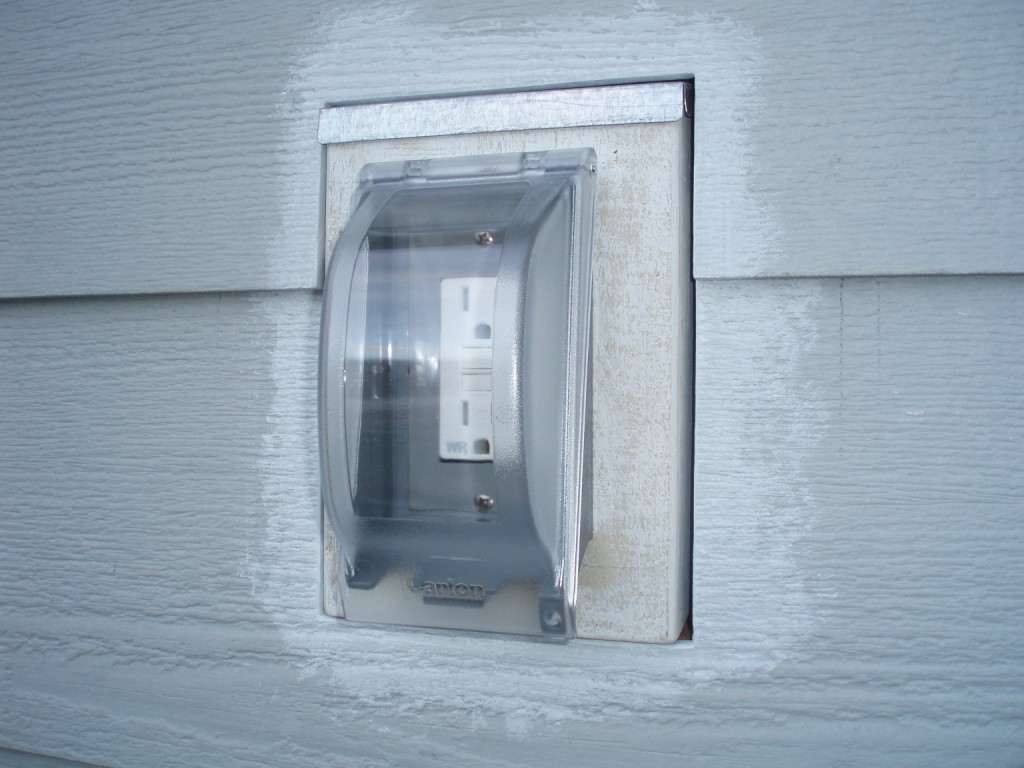
Here we see the receptacle at left with an 'in-use' weather proof cover installed. The term 'in-use' means that it is safe while something is plugged in and the clear cover is snapped down to make it water tight.
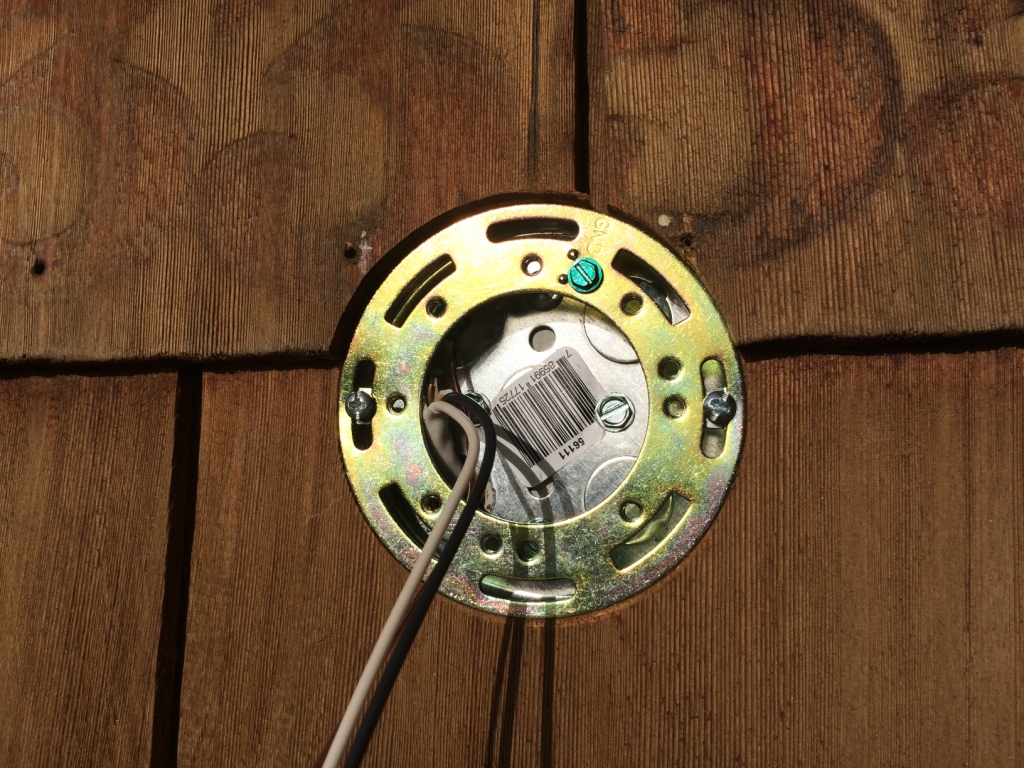
This outlet box was installed by using a four inch hole saw to cut the wooden shingles so the round box could be secured to the plywood underneath.
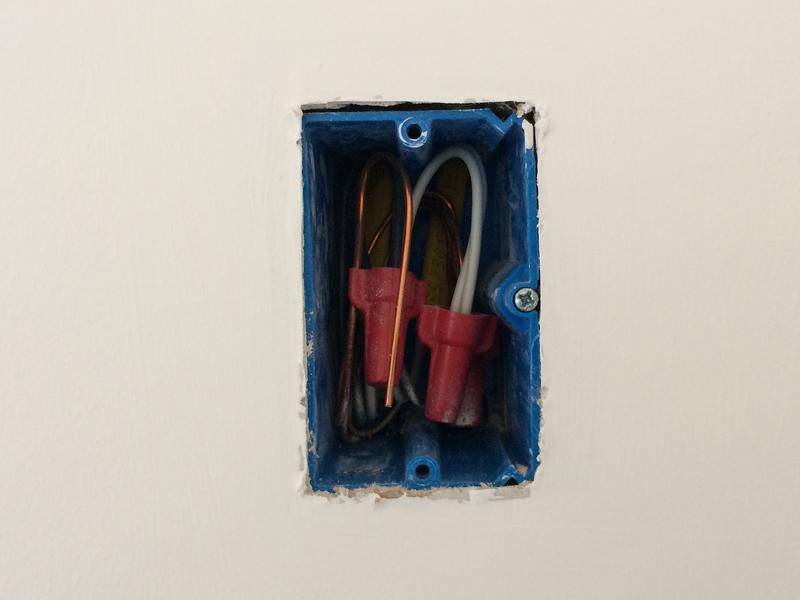
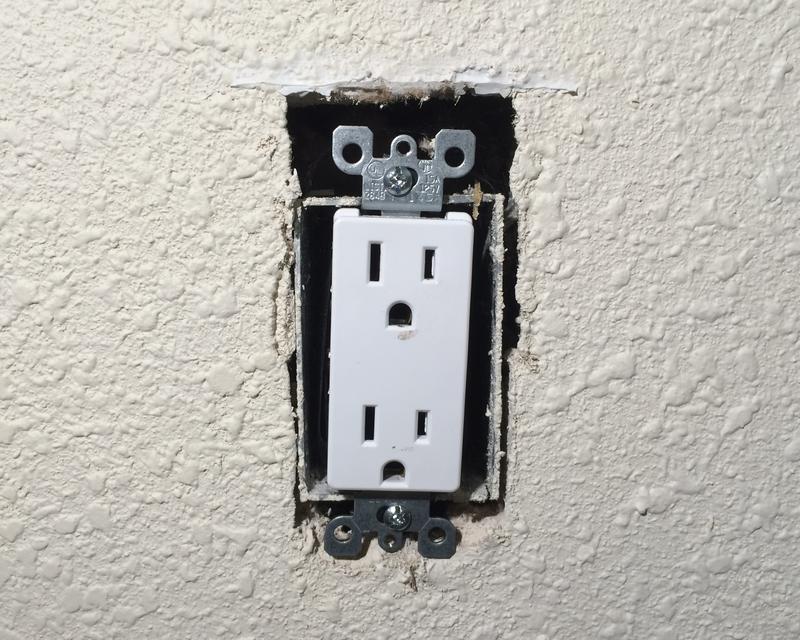
The drywall for this receptacle box was cut very tight to the sides of the box. This is the way it should be so the receptacle plaster ears will rest against the finished wall. In the picture at right the lower plaster ears of the receptacle rest against the finished wall, but the top plaster ears have nothing to rest against. This will cause the receptacle to push in at the top when someone plugs something in, and the cover plate will more than likely break.
The hole in the drywall for this receptacle was cut way to high on the top. This receptacle will push in when someone plugs something in.